Reliable wireless connectivity is essential for modern computing. Whether you’re working, streaming, or browsing, a stable network ensures seamless performance. This guide provides a straightforward process to establish a secure and efficient connection for your device.
Compatible with Windows 10 and 11, this guide covers six easy steps for both novice and intermediate users. From initial setup to troubleshooting, each step is designed to simplify the process. Security tips and performance optimization are also included to enhance your experience.
Referencing ISP recommendations and Microsoft documentation, this guide ensures accuracy and reliability. Follow along to enjoy a hassle-free wireless network setup tailored to your needs.
1. Gather the Necessary Equipment
Setting up a wireless connection starts with the right hardware. Proper preparation ensures a smooth and efficient process. Below, we’ll break down the essential components you’ll need.
Broadband Internet Connection and Modem
Your broadband connection is the backbone of your network. Depending on your ISP, you may have fiber-optic, cable, or DSL. Fiber-optic uses SFP connectors, cable relies on coaxial cables, and DSL requires a phone line with a filter. Ensure your modem matches your connection type for optimal performance.
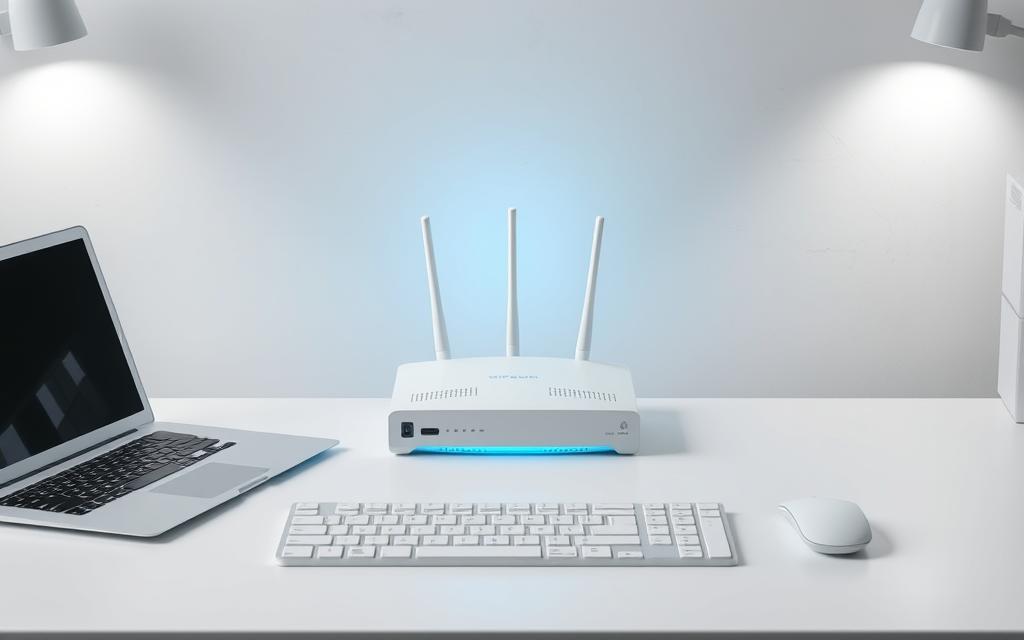
Wireless Router
A router is crucial for distributing your internet signal. Modern routers often support dual-band frequencies: 2.4GHz for wider coverage and 5GHz for faster speeds. Choose a router compatible with the latest wireless standards like 802.11ac or 802.11ax for future-proofing your setup.
Wireless Network Adapter
If your Windows device doesn’t have built-in Wi-Fi, you’ll need a wireless network adapter. External USB adapters are a popular choice. To check for existing adapters, open the Device Manager and navigate to Network adapters. This step ensures your device is ready for the next phase.
2. Set Up Your Modem and Internet Connection
Your modem is the gateway to a seamless online experience. Proper installation and configuration ensure a stable and efficient connection. Below, we’ll guide you through the process for fiber-optic, cable, and DSL setups.
Connecting Fiber-Optic, Cable, or DSL
Each connection type requires specific hardware and setup steps. For fiber-optic, install the SFP connector securely. Cable connections use coaxial cables, while DSL requires a phone jack with an inline filter. Ensure all cables are firmly connected to avoid signal loss.

After physical installation, check the modem’s LED indicators. A solid green light typically means a successful connection. If the light is off or blinking, refer to the modem’s manual for troubleshooting steps.
Configuring Your Modem
Once connected, configure your modem according to your ISP’s requirements. This often involves accessing the modem’s network settings via a web interface. Enter the provided credentials to activate your service.
For Windows users, ensure the modem is recognized by the system. Open the Device Manager and verify the modem’s status under Network adapters. If issues arise, restart the modem or contact your ISP for assistance.
| Connection Type | Setup Steps | Common Issues |
|---|---|---|
| Fiber-Optic | Install SFP connector, secure cables | Blinking LED, no signal |
| Cable | Connect coaxial cable, power on modem | Loose connection, slow speeds |
| DSL | Use phone jack with inline filter | No dial tone, unstable connection |
Safety is paramount when handling network equipment. Avoid touching exposed wires and ensure the modem is placed in a well-ventilated area. Following these steps will help you establish a reliable connected-fi setup.
3. Position Your Wireless Router for Optimal Signal
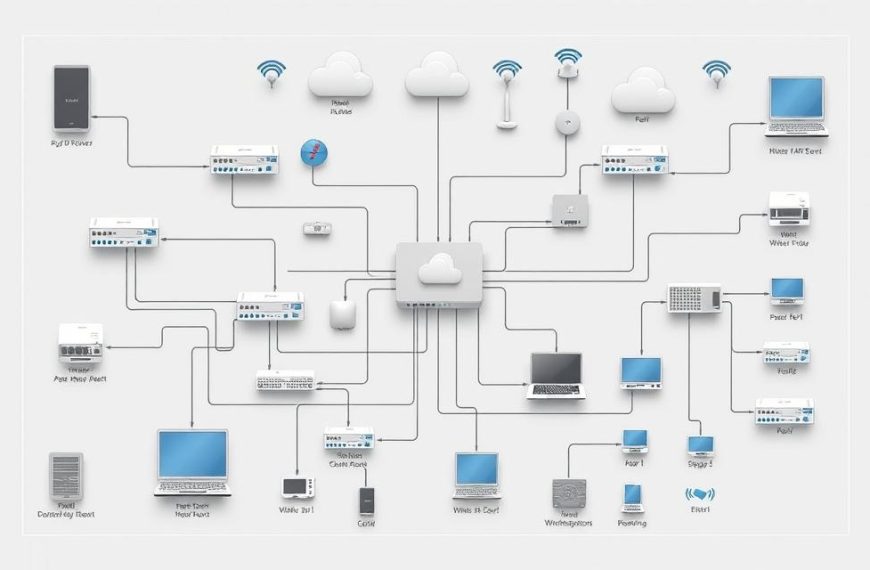
Achieving the best signal strength starts with proper router placement. The location of your wireless router significantly impacts the performance of your networks. A central, elevated position ensures even coverage throughout your space.
Central Location and Height
Place your router in a central area, ideally 1-1.5 feet above the ground. This height minimizes obstructions and improves signal strength. Avoid placing it in cabinets or behind furniture, as these block the signal.
For multi-story homes, position the router on the same level as your primary device. If you need coverage across floors, angle the antennas at 30° for better vertical reach.
Minimizing Interference
Interference from other hardware can degrade your signal. Common sources include microwaves, cordless phones, and metal objects. Keep your router away from these to maintain a stable connection.
Thick walls and floors, especially concrete, can also weaken the signal. Use a WiFi analyzer tool to identify the best channel for your wireless network. This reduces interference and enhances network security.
| Interference Source | Mitigation Strategy |
|---|---|
| Microwaves | Keep router at least 10 feet away |
| Cordless Phones | Use a different frequency band |
| Metal Objects | Relocate router to an open area |
| Thick Walls/Floors | Use a mesh network for better coverage |
For more tips on optimal router placement, refer to this detailed guide. Proper positioning ensures a reliable and efficient wireless experience.
4. Connect Your Computer to the Wireless Network
Establishing a seamless connection to your router is a straightforward process. Before proceeding, ensure your device is ready to join the network. This involves verifying your hardware and configuring your network settings correctly.
Checking for a Wireless Network Adapter
First, confirm your Windows device has a wireless network adapter. Open the Device Manager by selecting Start and typing “device manager.” Expand the Network adapters section and look for an adapter with “wireless” in its name. If none is found, consider using an external USB adapter.

Selecting the Network and Entering the Password
Next, navigate to the settings app to join your desired network name. For Windows 10, go to Settings > Network & Internet > Status > Network and Sharing Center. For Windows 11, access Control Panel > Network and Internet > Network and Sharing Center. Select “Set up a new connection or network” and follow the prompts.
- Choose your network name from the list of available options.
- Enter the password or security key when prompted.
- For hidden SSIDs, manually enter the network name and credentials.
WPA3 security is recommended if supported by your router and PC for enhanced protection.
If your network settings connect fails, troubleshoot by restarting your device or router. For additional guidance, refer to Microsoft’s official documentation.
5. Secure Your Wireless Network
Protecting your wireless setup is critical for maintaining privacy and performance. A secure network prevents unauthorized access and ensures smooth operation. Below, we’ll explore essential steps to enhance your security.
Changing Default Username and Password
Most routers come with default credentials, making them vulnerable to attacks. Access your router’s admin panel by entering its IP address (e.g., 192.168.1.1) in your browser. Navigate to the control panel and update the username and password.
Create a strong passphrase with a mix of letters, numbers, and symbols. Avoid using easily guessable information like birthdays or common words. This simple step significantly boosts your network security key.

Setting Up a Security Key
A security key encrypts your data, making it unreadable to intruders. Use the WPA3 protocol for the highest level of protection. WPA3 offers advanced encryption compared to WEP or WPA2, ensuring your network remains secure.
To set up a security key, access your router’s network settings and select WPA3 as the encryption method. Enter a unique passphrase and save the changes. This step is crucial for safeguarding your connection.
Using WPS for Easy Setup
Wi-Fi Protected Setup (WPS) simplifies the connection process. Press the WPS button on your router, then activate WPS on your device within two minutes. This method eliminates the need to manually enter a password.
However, WPS has known vulnerabilities. Disable it after setup to reduce risks. For added security, consider enabling MAC address filtering and regularly updating your router’s firmware.
“WPA3 is the gold standard for wireless security, offering robust protection against modern threats.”
Finally, configure your firewall settings to block unauthorized access. These combined measures ensure your network remains safe and efficient.
6. Conclusion
Ensuring a stable and secure setup is the final step in optimizing your online experience. A strong network security foundation protects your data and keeps your connection reliable. Follow this step-by-step guide to maintain peak performance.
Regular speed tests help identify issues early. Use tools like Ookla or Fast.com to monitor your connection. If problems persist, contact your ISP for assistance. They can provide tailored solutions for your setup.
Consider using network monitoring tools like GlassWire or NetSpot. These applications track usage and detect unauthorized access. Keeping your router’s firmware updated also enhances network security and performance.
Finally, always prioritize safety. Update your Windows system and router settings regularly. This ensures your connect device remains protected against evolving threats.
FAQ
What equipment is needed to set up a wireless network?
You’ll need a broadband internet connection, a modem, a wireless router, and a wireless network adapter for your computer if it doesn’t have built-in Wi-Fi capabilities.
How do I configure my modem for internet access?
Connect your modem to the internet source (fiber-optic, cable, or DSL) and follow the manufacturer’s instructions to configure it. Ensure the modem is powered on and connected properly.
Where should I place my wireless router for the best signal?
Position the router in a central location, elevated off the floor, and away from walls or devices that may cause interference, such as microwaves or cordless phones.
How do I check if my computer has a wireless network adapter?
Open the Device Manager in Windows and look for a Network Adapters section. If a wireless adapter is listed, your computer supports Wi-Fi.
What steps are involved in connecting to a Wi-Fi network?
Open the Network Settings or Network Sharing Center on your Windows device, select the desired network name, and enter the security key or password when prompted.
How can I secure my wireless network?
Change the default username and password on your router, set up a strong security key, and consider using WPS (Wi-Fi Protected Setup) for a quick and secure connection.
What should I do if I can’t find my wireless network?
Ensure your router is powered on and broadcasting the network name. Check the Network Settings on your device and refresh the list of available networks.
Can I use a public Wi-Fi network securely?
Avoid accessing sensitive information on public networks. Use a VPN (Virtual Private Network) to encrypt your connection and enhance security.

 By
By